
How to Use a Coconut Oil Hair Mask for Deep Repair
A good deep-conditioning treatment can be the difference between frizzy, dull hair and smooth, shiny locks. If you’re dealing with dryness, damage, or just want to boost your hair’s health, a coconut oil hair mask is a fantastic choice. I’ve been using the ROZINO Coconut Oil Hair Mask to get my hair back in shape, and I want to show you the best way to do it. Let’s get started!
What You’ll Need
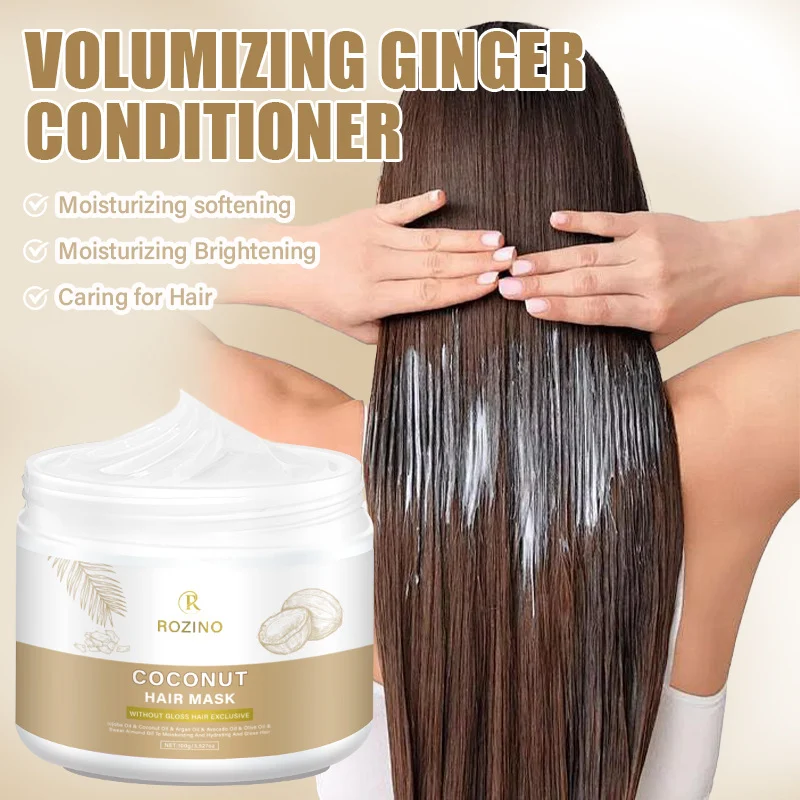
- The ROZINO Coconut Oil Hair Mask
- A gentle, sulfate-free shampoo
- A wide-tooth comb
- A shower cap or warm towel (optional but helpful)
- A timer
Step-by-Step Guide
Step 1: Start with Clean, Damp Hair
First, wash your hair with your regular shampoo. I recommend a gentle one to avoid stripping your hair before the treatment. Rinse thoroughly. Next, gently squeeze the excess water from your hair with your hands. You want it to be damp, not dripping wet. Using a towel to blot is okay, but don’t rub vigorously—this can cause frizz and breakage before you even start the mask. Think of it as patting your hair dry, not scrubbing it.
Step 2: Apply the Mask from Ends to Roots
This is the most important step for getting the results you want. Take a generous scoop of the ROZINO mask (about the size of a walnut for medium-length hair) and rub it between your palms to warm it up. Starting at the very tips of your hair, which are the oldest and most damaged, work the mask into your strands. Massage it in thoroughly, coating every section. Then, work your way up toward the mid-lengths.
Here’s my personal tip: unless your scalp is extremely dry, avoid applying a lot of product directly to your roots. I learned this the hard way when I slathered mask all over and ended up with flat, greasy-looking roots for two days. Focus the richness where your hair needs it most—the ends.
Step 3: Comb Through and Let It Sit
Once your hair is evenly coated, use a wide-tooth comb to gently distribute the mask from root to tip. This ensures every strand gets treated and helps detangle your hair. Now, for the waiting game. The instructions say 5-10 minutes, but if your hair is very dry or damaged, you can leave it on longer. I like to twist my hair up, pop on a cheap shower cap, and go about my business for 20-30 minutes. The cap traps body heat, which helps the oils and nutrients penetrate deeper into the hair shaft.
Step 4: Rinse Thoroughly with Cool Water
Time’s up! Head back to the shower and rinse the mask out completely. Start with warm water to help melt the product away, but finish your final rinse with cool water. This helps to seal the hair cuticle, locking in all that moisture and boosting shine. Make sure you rinse until the water runs clear and your hair doesn’t feel slippery anymore. Any leftover residue can weigh hair down.
Step 5: Style as Usual
Gently squeeze out the water and pat your hair dry with a towel. You’ll likely notice your hair feels softer and more manageable immediately. Style as you normally would. You might find you need less styling product because your hair is already smoother and less frizzy. Don’t worry if your hair feels incredibly soft—this is totally normal and means the mask is working!
Pro Tips
For Extra Penetration: After applying the mask, wrap your hair in a warm, damp towel for 10-15 minutes. The gentle heat acts like a mini steam treatment.
Customize Your Mix: If you have high-porosity hair that drinks up moisture, try adding a few drops of pure argan or jojoba oil to the mask in your palm for an extra boost.
We also covered something similar in My Honest ROZINO Nail Treatment Review: Can It Save My Ruined Post-Acrylic Nails?.
Consistency is Key: For damaged hair, using this mask once or twice a week will give you much better long-term results than a single, occasional treatment.
Common Mistakes to Avoid
Applying to Dry Hair: The mask is designed to be used on damp hair. Applying it to dry hair makes it harder to spread evenly and can lead to patchy results.
Not Rinsing Enough: Incomplete rinsing is the main culprit behind hair that feels heavy or greasy after a treatment. Take the extra minute to rinse completely.
Over-applying at the Roots: As I mentioned, your scalp produces natural oils. Saturating your roots with a rich mask can overwhelm them and leave your hair looking flat.
Expected Results & Timeline
You can expect to see and feel a difference right after your first use. Your hair should be noticeably softer, smoother, and easier to comb. With consistent weekly use over 3-4 weeks, you’ll see more cumulative benefits: reduced frizz, improved shine, and stronger strands that are less prone to breakage and split ends. This mask is fantastic for bringing life back to hair that’s been stressed by coloring, heat styling, or just the environment.
The product I used: available here.

